How to Organize Your Garage in 5 Easy Steps (2026 Guide)

Key Takeaways
- A well-organized garage transforms wasted space into functional storage
- Following 5 core steps ensures you create a system that lasts
- Regular maintenance keeps your garage organized year-round
Introduction
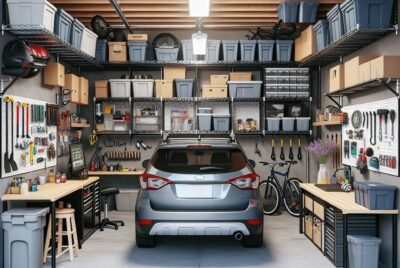
Your garage is one of the most versatile spaces in your home — yet it’s often the most cluttered. Whether you use it for parking, storage, or a workshop, an organized garage saves time, protects your belongings, and even adds value to your home.
In this guide, we’ll walk you through organizing your garage in 5 easy steps, even if you’re starting from scratch.
Step 1: Empty and Assess
Before organizing anything, you need to see what you’re working with.
What to Do
- Take everything out — Yes, everything
- Sort into piles: Keep, Donate, Trash, Relocate (things that belong elsewhere)
- Measure your space — Know your floor area and ceiling height
- Check what you have — Group similar items together (tools, sports gear, seasonal decor)
Pro Tip
This is the perfect time to throw away broken items you’ve been holding onto. If it hasn’t been used in 2 years, let it go.
Step 2: Zone Your Garage
Think of your garage in zones based on how you actually use the space.
Common Zones
| Zone | What’s Stored | Best Storage Solution |
|---|---|---|
| Parking Zone | Vehicles | Clear floor space, ceiling storage |
| Workbench Zone | Tools, supplies | Pegboard, tool chests |
| Sports Zone | Balls, bikes, gear | Wall hooks, floor racks |
| Seasonal Zone | Holiday decor, camping gear | Shelving, clear bins |
| Bulk Storage | Paper towels, cleaning supplies | Heavy-duty shelving |
Tip
Keep your parking zone clear — if you have 2 cars, leave room for both. The rest of the space can be optimized for storage.
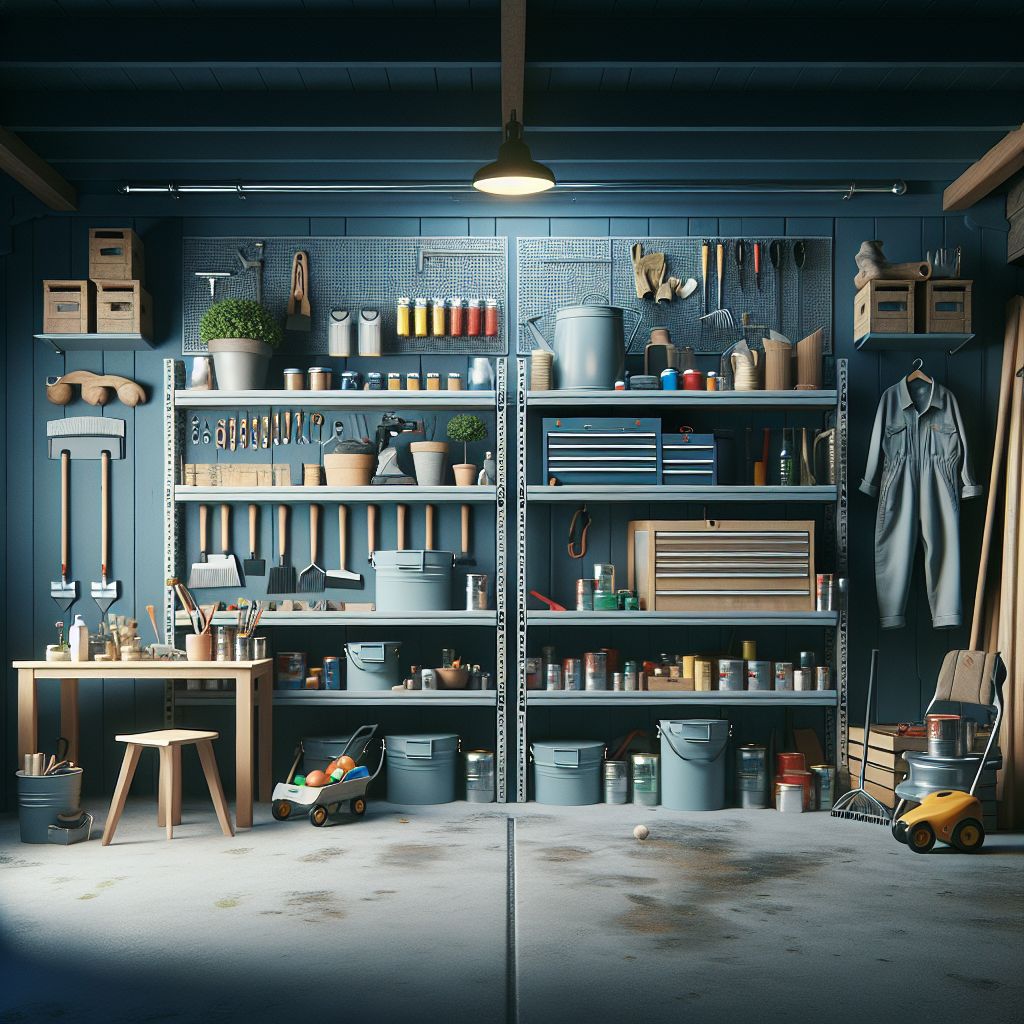
Step 3: Choose the Right Storage Solutions
Now that you know your zones, it’s time to equip your garage with the right tools.
Ceiling Storage Racks
- Best for: Seasonal items, bins you don’t access daily
- Why: Uses vertical space that would otherwise go unused
- Capacity: Look for racks that hold 200+ lbs per shelf
Wall-Mounted Shelving
- Best for: Regular-access items, small to medium containers
- Why: Keeps items off the floor but within reach
- Pro tip: Slatwall panels let you customize and rearrange hooks and shelves
Pegboards
- Best for: Tools, hobby supplies
- Why: Everything is visible and easy to grab
- Install tip: Mount behind your workbench for easy tool access
Heavy-Duty Shelving
- Best for: Bulk items, heavy boxes, paint, chemicals
- Why: Industrial shelving holds more weight than standard garage shelves
- Look for: At least 5-tier units rated for 200 lbs per shelf
Step 4: Label Everything
This is the step most people skip — and it’s the reason their organization falls apart within 6 months.
Why Labels Matter
- Anyone can find things — Your spouse, kids, or guests
- You remember where things go — No more “where did I put that?”
- Makes returning items easy — If it has a home, it goes back there
How to Label
- Use a label maker for clean, readable labels
- For bins, label the outside front — not the top
- Include categories, not just contents: “Sports > Summer”
- Date your bins: “Holiday Decor 2024” tells you when to rotate
Step 5: Maintain Your System
The final step is building habits that keep your garage organized long-term.
Weekly Quick Tidy (15 minutes)
- Return items to their zones
- Wipe down surfaces
- Sweep high-traffic areas
Monthly Deep Clean (1 hour)
- Check expiration dates on stored items
- Reorganize anything that’s shifted
- Clean windows and light fixtures
Seasonal Rotation
- Swap out seasonal gear (ski equipment ↔ golf clubs)
- Inspect storage bins for damage
- Refresh labels if needed
Quick-Start Checklist
✅ Empty the garage
✅ Sort into Keep/Donate/Trash
✅ Map out your zones
✅ Install ceiling racks + wall shelving
✅ Add pegboard if you have tools
✅ Label every bin and container
✅ Do a weekly 15-minute tidy
Conclusion
Organizing your garage doesn’t have to be a weekend project that takes forever. By following these 5 steps — empty, zone, equip, label, maintain — you create a system that’s easy to use and even easier to keep up.
Start with Step 1 this weekend, and you’ll be surprised how quickly your garage transforms.
Frequently Asked Questions
How long does it take to organize a garage?
For an average 2-car garage, plan for 4-6 hours on your first organize session. Breaking it into two weekends makes it manageable.
What’s the most important storage upgrade?
Ceiling storage racks — they give you the most additional storage space without sacrificing floor area.
Should I build my own shelving or buy pre-made?
For most homeowners, pre-made units from Amazon or Home Depot are more affordable and easier to install than custom builds. Look for at least 48-inch width and 200 lb capacity per shelf.
How do I keep my garage organized after I finish?
The 15-minute weekly tidy is the secret. If you don’t have time for anything else, just spend 15 minutes putting things back in their zones. That single habit keeps chaos from coming back.
*We may earn a commission for purchases made using our links. Please see our Disclosure to learn more.